
The basic version of Leonardo AI is available for free, although it comes with a daily limit of 150 tokens. For those who need more capabilities and fewer restrictions, premium plans start at $10 per month. However, the free version is sufficient for most beginners. It is recommended to try the free version before opting for the paid one. Here is your guide to creating images with Leonardo AI.
Here are 5 steps to get started with Leonardo AI:
Start:
Go to the Leonardo AI App:
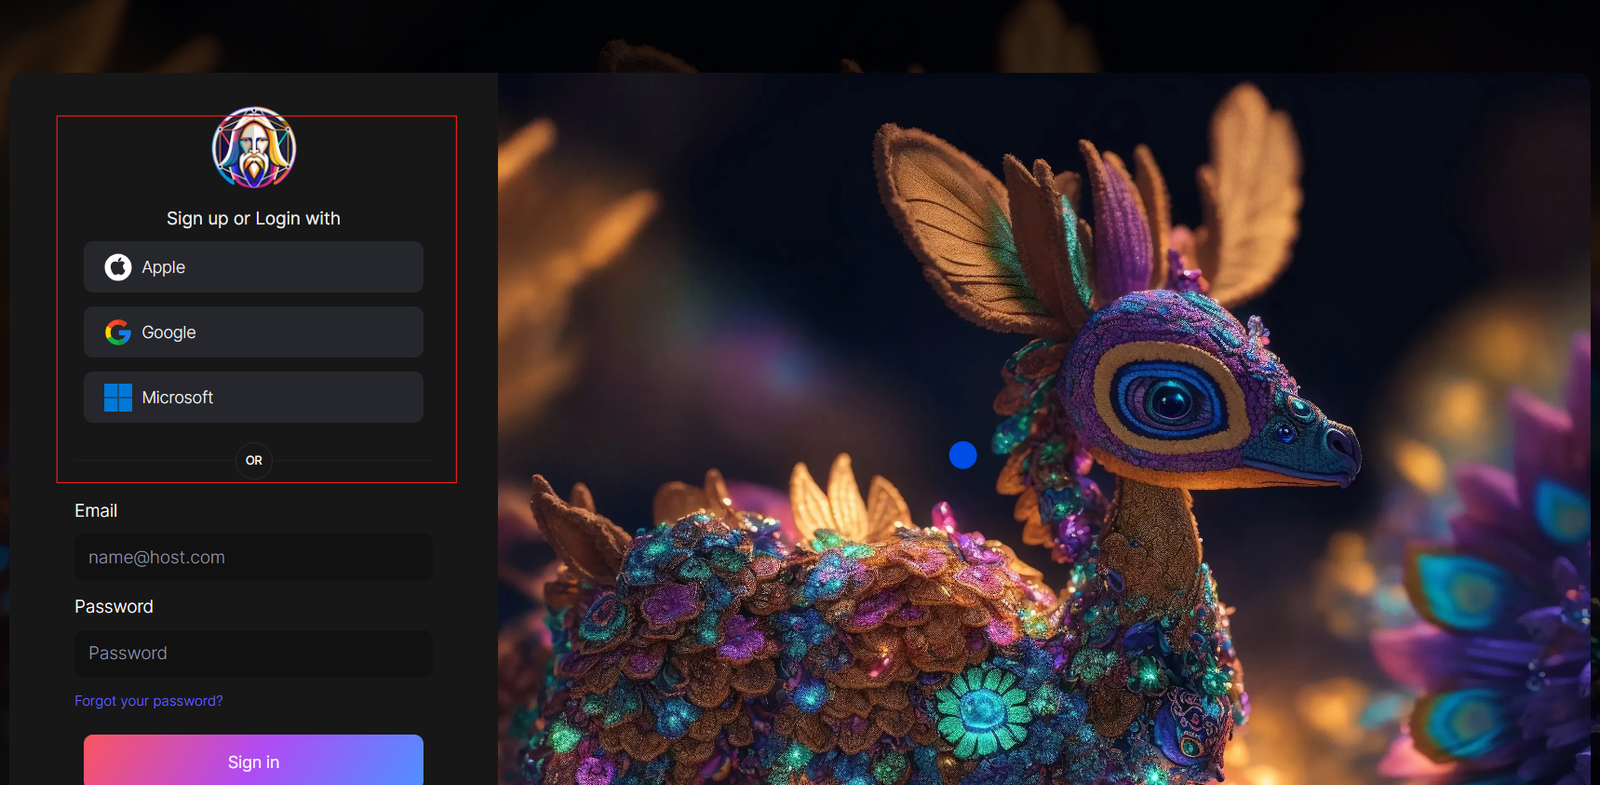
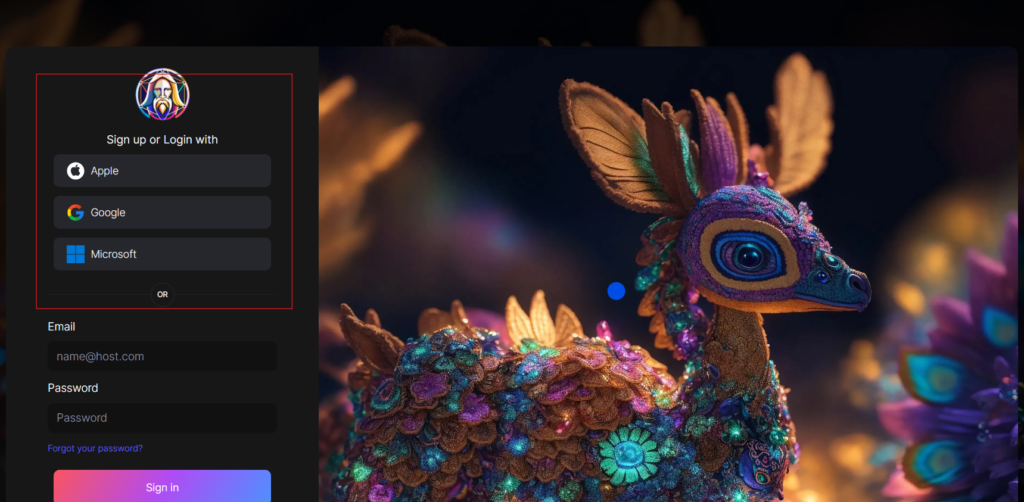
You can sign in with your Apple, Google, Microsoft account, or email account. Then, sign in with your newly created account.
Navigate to the image creation tool
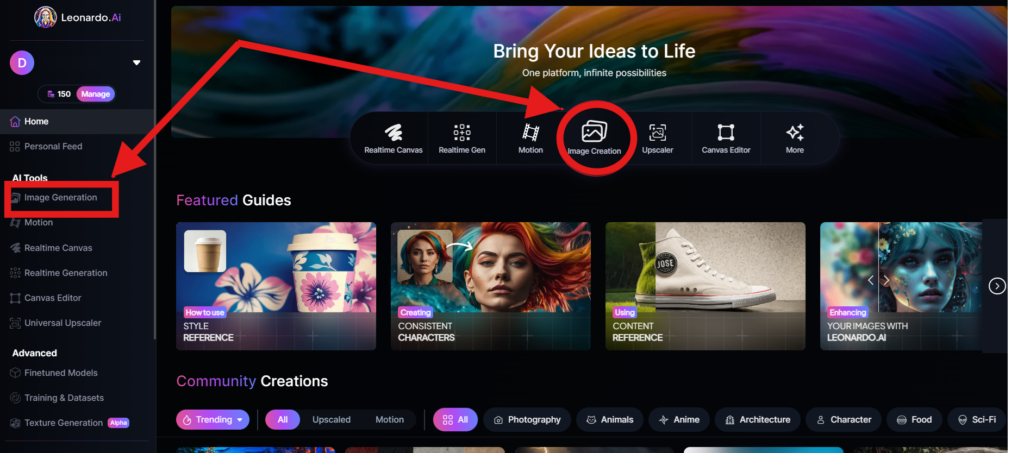
On the app.leonardo.ai homepage, select the ‘Image Generation’ option from the left panel, click on the icon in the middle or use the ‘Image Creation’ button located in the middle
Create your first image
In the prompt field at the top you can immediately create your desired Image. Or you can also create a reminder with the available AI suggestions in 2 ways:
+ Generate a random photo: 1, Click to “New Random Prompt” then 2. click Generate
+ Create a photo with an AI description by an image that you want to get the original idea. Then you edit according to your creativity
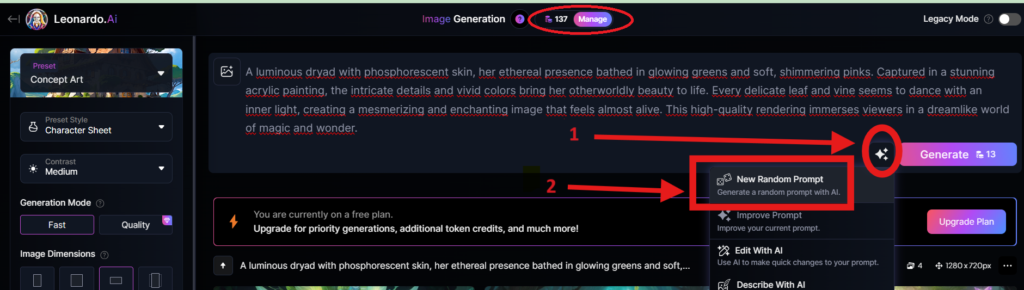
Wait about 20 seconds for Leonardo AI to generate the images, and you will receive four stunning high-resolution images as follows:
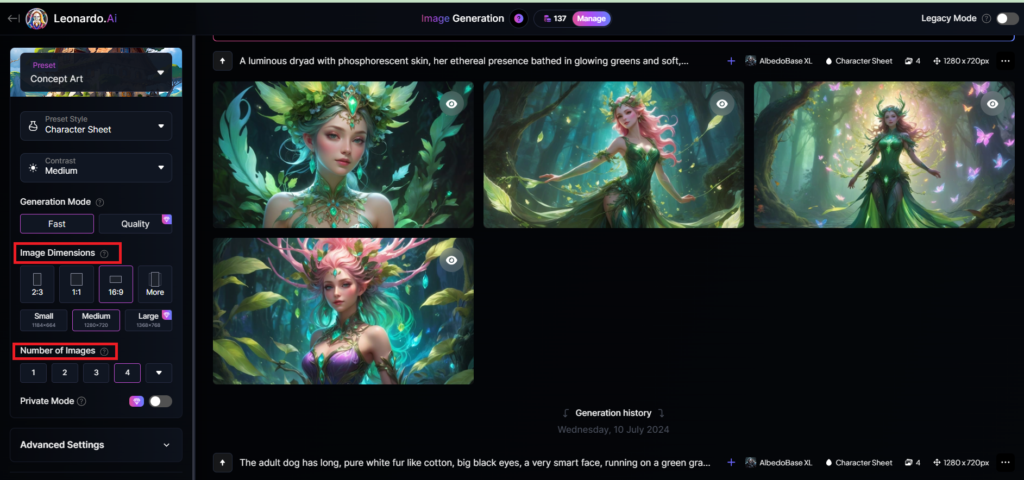
You can select the image size in the “Image Dimensions” section, which includes sizes like 2:3, 1:1, 16:9, and more options under “More” on the left. Alternatively, you can choose the number of images in the “Number of Images” section, with a maximum of 8 images that can be generated.
Add Elements
Use the drop-down menu under “Add Elements” to select a specific element such as Coloring Book, Folk Art Illustration, Children’s Illustration, Cartoon & Anime, or Classic Style Christmas Illustration. Although you can select multiple elements, Leonardo advises that choosing more than two elements may lead to unpredictable results.
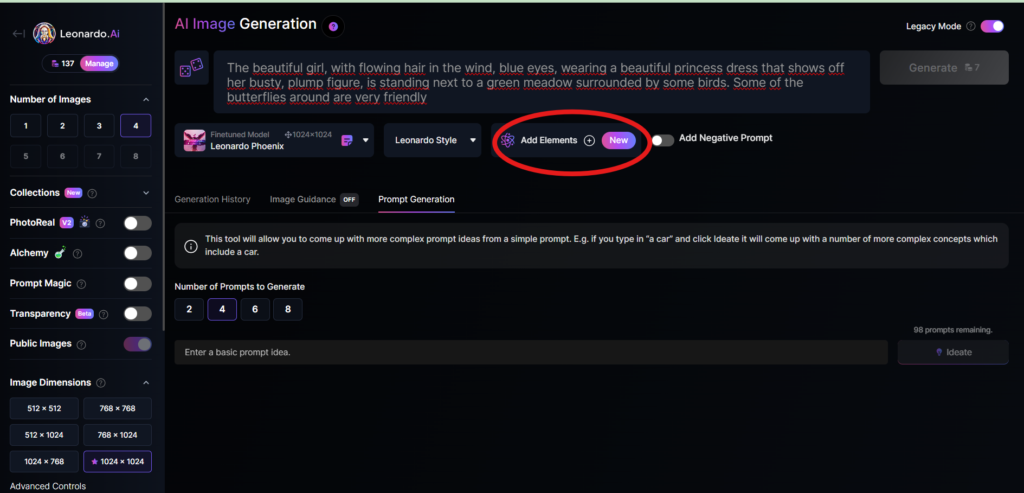
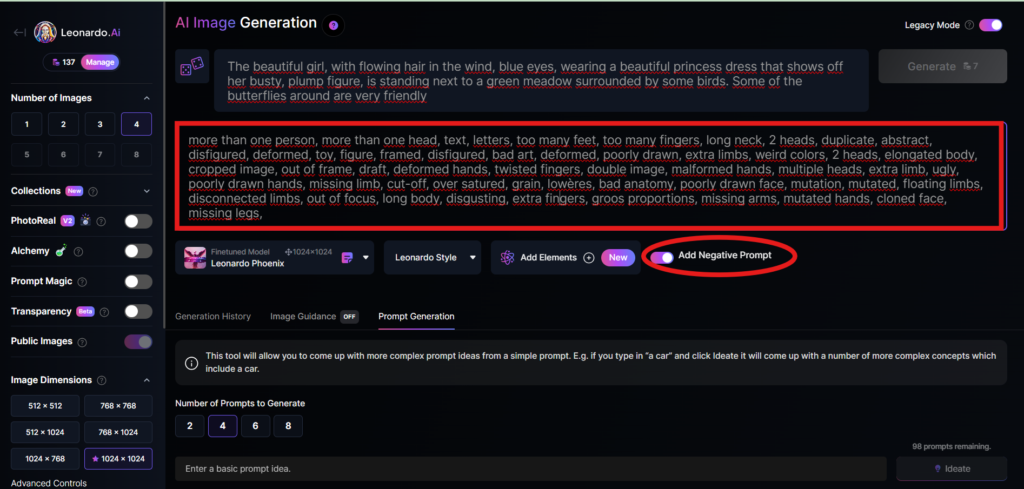
Add a negative prompt
As in the example above, I created negative prompts to ensure the resulting images were error-free, including: “more than one person, more than one head, text, letters, too many feet, too many fingers, long neck, 2 heads, duplicate, abstract, disfigured, deformed, toy, figure, framed, disfigured, bad art, deformed, poorly drawn, extra limbs, weird colors, 2 heads, elongated body, cropped image, out of frame, draft, deformed hands, twisted fingers, double image, malformed hands, multiple heads, extra limb, ugly, poorly drawn hands, missing limb, cut-off, over satured, grain, lowères, bad anatomy, poorly drawn face, mutation, mutated, floating limbs, disconnected limbs, out of focus, long body, disgusting, extra fingers, groos proportions, missing arms, mutated hands, cloned face, missing legs,”
Here are the basic steps for new users to create a simple image with Leonardo AI. In the next article, I will guide you through advanced details to create various types of images for different purposes. You can start your free trial with Leonardo AI here:

Где купить героин – Купить Мефедрон, Альфа-ПВП, Бошки, Марихуану
Nice share! Ulasan ini sangat relevan bagi pemain yang ingin bermain dengan nyaman di era digital.
Memang benar, memilih **Bandar Slot Gacor Resmi** adalah kunci utama, ditambah ketersediaan **Slot Demo Terpercaya** yang memungkinkan kita mengenal karakter permainan tanpa risiko.
Semoga ke depannya semakin banyak platform bereputasi seperti ini di **2026**.
Terima kasih sudah berbagi! Kunjungi Situs Resmi Kami
Hello there, just became alert to your blog through Google, and found that it is truly informative.
I am gonna watch out for brussels. I’ll appreciate if you continue this in future.
Many people will be benefited from your writing.
Cheers!
https://www.realestateacres.com/author/sectorwjd13/
I like the valuable information you provide in your articles.
I will bookmark your weblog and check again here frequently.
I’m quite certain I will learn a lot of new stuff right here!
Good luck for the next!
https://hedgedoc.envs.net/s/SjyiSEUmM
Наркошопы телеграм – Купить Мефедрон, Альфа-ПВП, Бошки, Марихуану
darknet market list darknet marketplace
dark web marketplaces darknet markets onion address
https://elterngeld24.com/author/winstonbpr94/
https://pad.ura.design/s/Lww_WFKki-
Everything is very open with a very clear explanation of the issues.
It was definitely informative. Your website is useful.
Thanks for sharing!
dark market onion dark market url
spent an evening on across bridge dapp and it was worth it
https://www.ruhrpott-poker.de/author/appreciationxtd7443/
Следите за публикациями BANK-NEVA в Pinterest: https://ru.pinterest.com/bankneyva/. В нашем профиле собраны полезные материалы о микрозаймах. Без сложных финансовых терминов разбираем, что такое займы без процентов, кому предоставляется ставка 0% и сколько обычно продолжается льготный период. Также объясняем, почему перед оформлением важно проверить срок возврата, полную стоимость кредита и возможную переплату.
Отдельно рассказываем, что делать, если МФО отказала в одобрении заявки, как увеличить шансы на положительное решение и каких ошибок лучше избегать при заполнении анкеты. Размещаем понятные разборы о займах для клиентов с плохой кредитной историей, новых предложениях МФО, микрокредитах без платных подписок и правилах выбора надёжной МФО.
Через публикации в Pinterest можно перейти на официальный сайт BANK-NEVA и посмотреть список проверенных МФО, включённых в государственный реестр Банка России. Там удобно сравнить доступные суммы, сроки и процентные ставки, после чего перейти к оформлению заявки на сайте выбранной компании. BANK-NEVA не является МФО и самостоятельно не выдаёт микрозаймы – мы помогаем изучить предложения и выбрать подходящий вариант.
https://paper.wf/berlinaev409/budet-vosproizvodit-sia-ob-emnyi-zvuk-s-effektom-prisutstviia-spasibo-chto-vy
Howdy would you mind letting me know which webhost you’re utilizing?
I’ve loaded your blog in 3 completely different browsers and I must say this blog loads a lot quicker then most.
Can you suggest a good web hosting provider at a honest price?
Kudos, I appreciate it!
I am really happy to glance at this webpage posts which consists of tons of
helpful data, thanks for providing these statistics.
https://pad.deckenpfronn.info/s/RqtDqDwv1