

The basic version of Leonardo AI is available for free, although it comes with a daily limit of 150 tokens. For those who need more capabilities and fewer restrictions, premium plans start at $10 per month. However, the free version is sufficient for most beginners. It is recommended to try the free version before opting for the paid one. Here is your guide to creating images with Leonardo AI.
Here are 5 steps to get started with Leonardo AI:
Start:
Go to the Leonardo AI App:
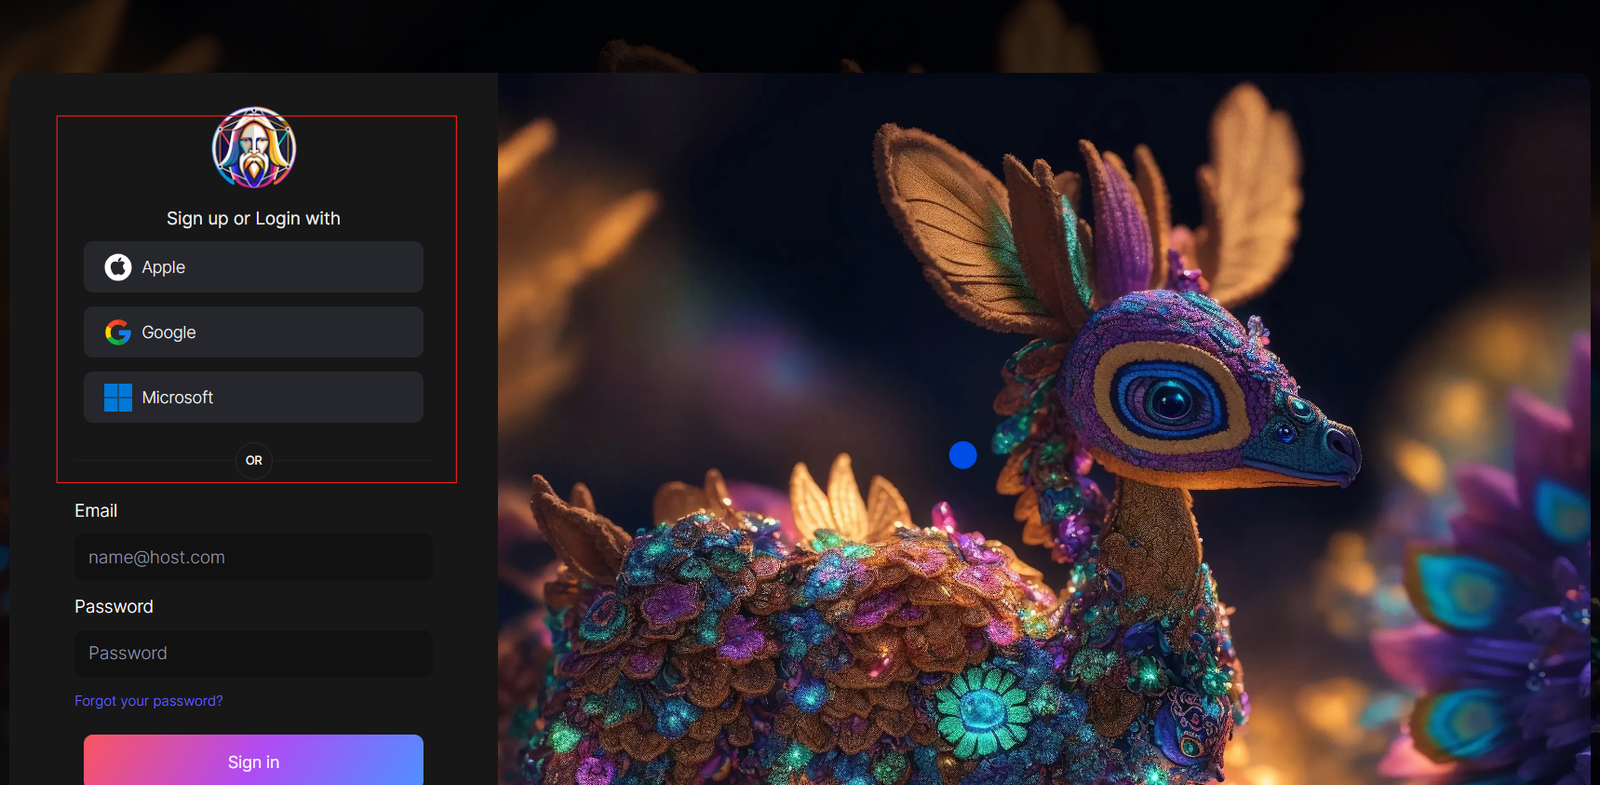
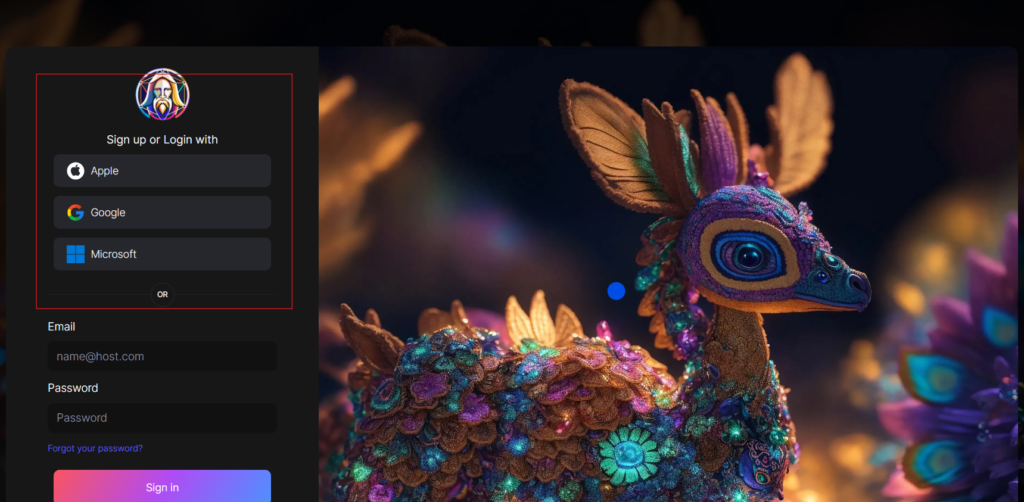
You can sign in with your Apple, Google, Microsoft account, or email account. Then, sign in with your newly created account.
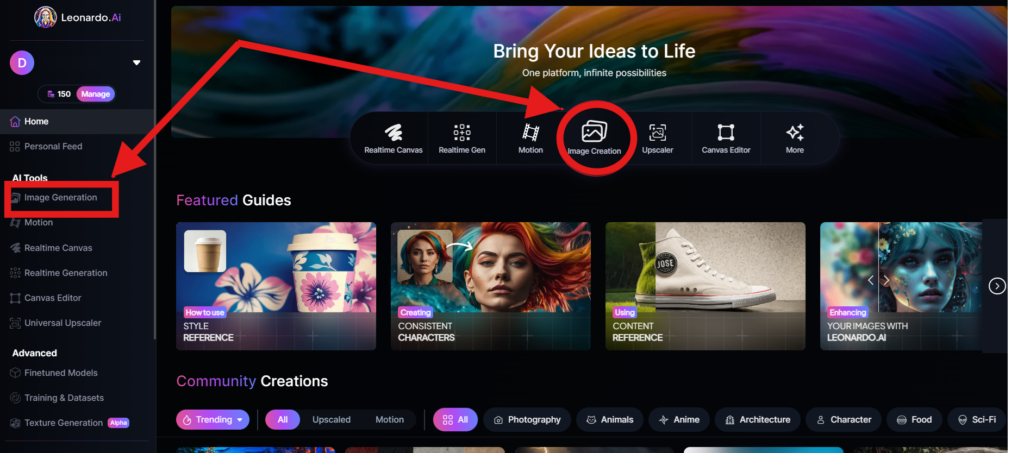
Navigate to the image creation tool
On the app.leonardo.ai homepage, select the ‘Image Generation’ option from the left panel, click on the icon in the middle or use the ‘Image Creation’ button located in the middle
Create your first image
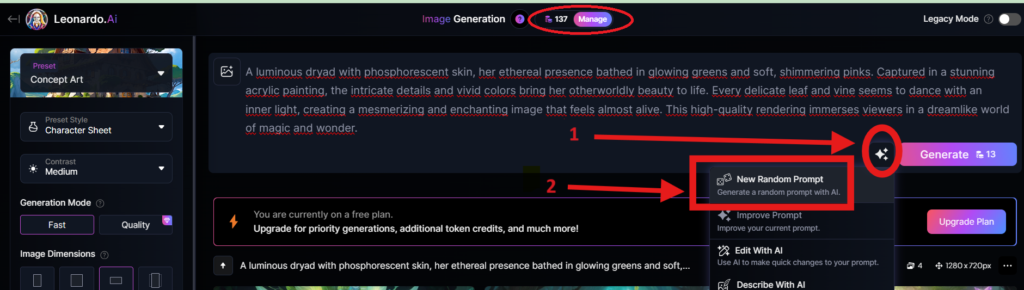
In the prompt field at the top you can immediately create your desired Image. Or you can also create a reminder with the available AI suggestions in 2 ways:
+ Generate a random photo: 1, Click to “New Random Prompt” then 2. click Generate
+ Create a photo with an AI description by an image that you want to get the original idea. Then you edit according to your creativity
Wait about 20 seconds for Leonardo AI to generate the images, and you will receive four stunning high-resolution images as follows:
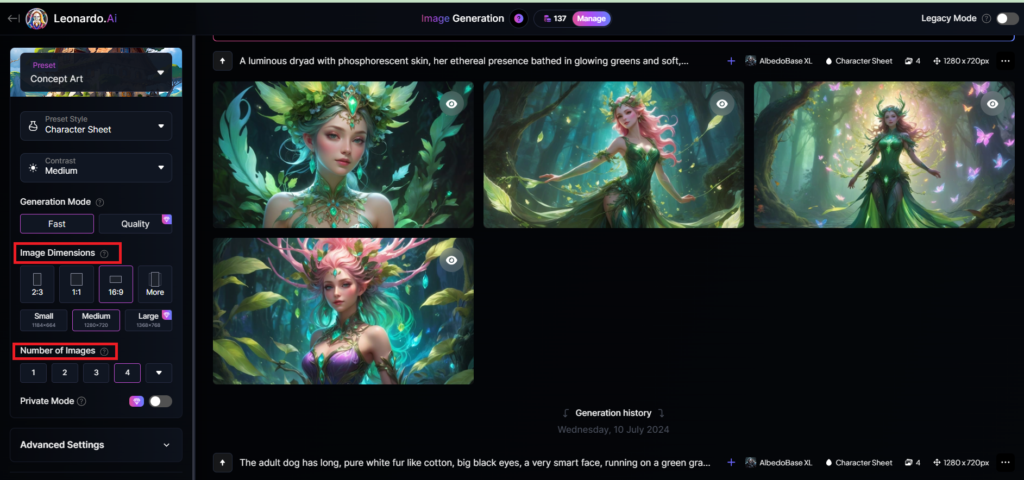
You can select the image size in the “Image Dimensions” section, which includes sizes like 2:3, 1:1, 16:9, and more options under “More” on the left. Alternatively, you can choose the number of images in the “Number of Images” section, with a maximum of 8 images that can be generated.
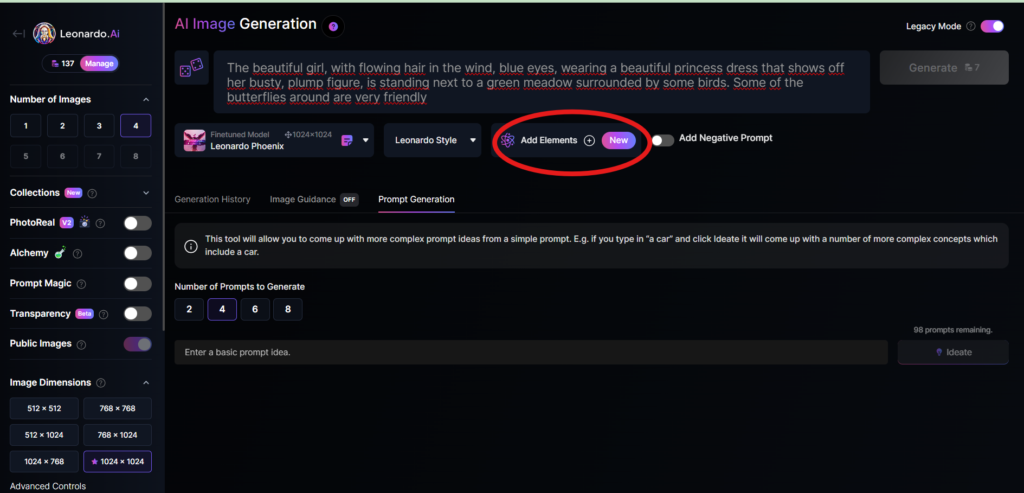
Add Elements
Use the drop-down menu under “Add Elements” to select a specific element such as Coloring Book, Folk Art Illustration, Children’s Illustration, Cartoon & Anime, or Classic Style Christmas Illustration. Although you can select multiple elements, Leonardo advises that choosing more than two elements may lead to unpredictable results.
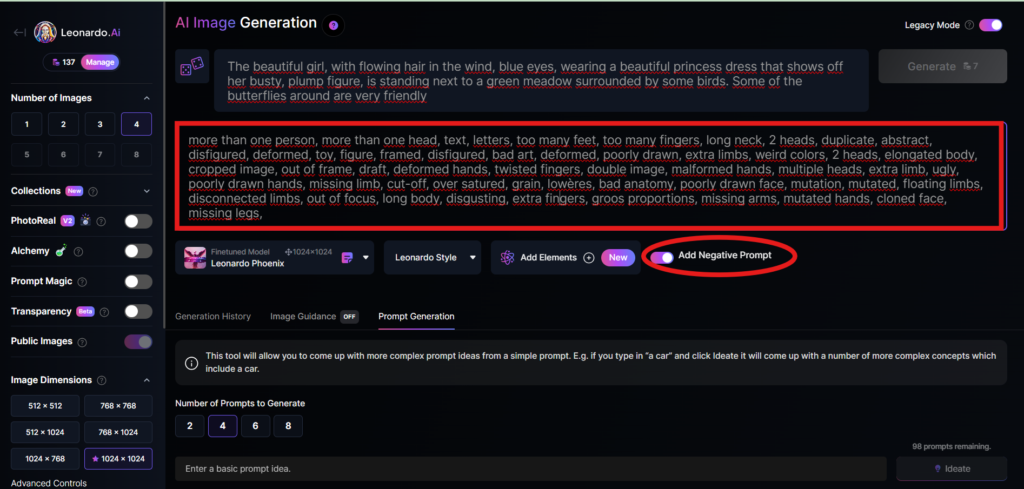
Add a negative prompt
As in the example above, I created negative prompts to ensure the resulting images were error-free, including: “more than one person, more than one head, text, letters, too many feet, too many fingers, long neck, 2 heads, duplicate, abstract, disfigured, deformed, toy, figure, framed, disfigured, bad art, deformed, poorly drawn, extra limbs, weird colors, 2 heads, elongated body, cropped image, out of frame, draft, deformed hands, twisted fingers, double image, malformed hands, multiple heads, extra limb, ugly, poorly drawn hands, missing limb, cut-off, over satured, grain, lowères, bad anatomy, poorly drawn face, mutation, mutated, floating limbs, disconnected limbs, out of focus, long body, disgusting, extra fingers, groos proportions, missing arms, mutated hands, cloned face, missing legs,”
Here are the basic steps for new users to create a simple image with Leonardo AI. In the next article, I will guide you through advanced details to create various types of images for different purposes. You can start your free trial with Leonardo AI here:


I’m gone to inform my little brother, that he should also go to see this webpage
on regular basis to get updated from hottest reports.
my page: Services informatiques Montréal
I don’t even understand how I ended up here, but I assumed this
put up was great. I don’t know who you might be
but definitely you’re going to a well-known blogger
in the event you aren’t already. Cheers!
My page Shrooms Direct Online Store
My programmer is trying to persuade me to move to .net from PHP.
I have always disliked the idea because of the costs.
But he’s tryiong none the less. I’ve been using Movable-type on various websites for about a year and
am concerned about switching to another platform.
I have heard good things about blogengine.net.
Is there a way I can transfer all my wordpress content into it?
Any help would be really appreciated!
My web page :: Mushroom Products Online
ебля старых
I will right away seize your rss feed as I can not in finding your e-mail subscription link or
newsletter service. Do you have any? Kindly allow me
know in order that I may just subscribe. Thanks.
Also visit my homepage; NCSC Cyber Essentials
References:
Lollybet Slots http://image.google.co.im/url?q=http://downarchive.org/user/lineface8/
kasyno online free Najlepsze kasyna internetowe tiki casino bonus bez depozytu
bookmarked!!, I like your web site!
https://md.chaospott.de/s/tADvKr8vKN
lucky bird casino no deposit bonus Najszybciej wypЕ‚acajД…ce kasyna w Polsce jak usunД…Д‡ gmail z telefonu
Remarkable! Its in fact remarkable post, I have got much clear idea
about from this article.
wefunder.com
It’s very straightforward to find out any topic on net
as compared to textbooks, as I found this article at this web
page.
Why users still use to read news papers when in this technological globe the whole thing is presented on web?
Great content as always https://www.salarylist.com/partner/jobs?url=https%3A%2F%2Flnk.bz%2FbaFrb&jobkey=ziprecruiterpaid0_cpcb9cca589-545ba3b4&fromid=2
This is a topic that is near to my heart… Take care! Exactly where are
your contact details though?
It’s an amazing paragraph in support of all the online people; they will obtain benefit from it I am sure.
Строительство домов каркасных — отличный выбор для тех, кто ценит качество и надежность.
Каркасный дом становится все более популярным среди владельцев недвижимости. Это современный метод позволяет быстро возводить устойчивые и долговечные сооружения. Многие люди выбирают каркасные дома по причине их высокой энергоэффективности и возможности индивидуальной адаптации. Также, каркасные дома отличаются экологичностью и экономической выгодой, что делает их привлекательными для многих.
В процессе возведения каркасных домов используется специально разработанная технология, которая включает в себя монтаж каркаса из деревянных или металлических элементов. Этот каркас служит основой для стен, потолков и кровли . Благодаря современным материалам, таких как теплоизоляционные плиты и гипсокартон достигается высокая сохранность тепла.
Выгоды, которые дают каркасные дома очевидны: они быстро возводятся, их стоимость ниже, чем у кирпичных аналогов, и они обладают хорошей теплоизоляцией. Эти сооружения легко модернизировать и менять внутреннюю планировку в будущем. Именно из-за этого все больше людей выбирают каркасное строительство для своих семейных домов или дач.
Однако, строительство каркасных домов требует профессионального подхода и соблюдения технологий. Необходимо грамотно провести утепление и гидроизоляцию. В случае ошибок на этом этапе повышается риск возникновения плесени, гниения и других проблем. Необходим профессиональный монтажный бригадный состав.
References:
Lollybet Casino 10 Euro Bonus toolbarqueries.google.as
References:
Lollybet Casino DE mt-travel.ru